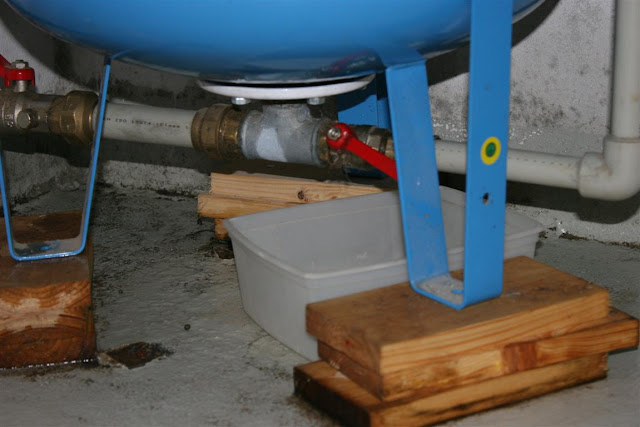
Warning - if you decide to view this blog post, be warned that it depicts a sad sight! I'm well aware that our expansion tank setup leaves a lot to be desired. Mainly, I wish the tank were elevated so I could get a bucket under it!Well, the old expansion tank in the basement, which supplies pressure to the water pipes in our house, developed a drip. Upon examination, it seemed that the water was dripping out from between a valve and an adjoining fitting. It was a rather slow leak, so I just let it slide. But a couple days ago I went down to the basement and found a big puddle of water on the floor. The dripping had accelerated substantially. It didn't seem to get any better so yesterday I got down there, rolled up my sleeves, and set to work.
After a day and a half of preparation, which could have gone quicker had I known what I was doing, I had the tank and house piping bled, the electricals disconnected, a new valve ready, and I disconnected the fittings under the expansion tank to dislodge it from its perch.
Turning it on its side, I took a closer look at the valve.
Well, that explains the dripping. Actually, I had already ascertained (yesterday) that there was a cracking/metal fatigue problem, because when I bumped the pipe it exacerbated the crack and water started to squirt out through what was a hairline crack. That crack went all the way around the casting and when I took hold of it with the wrench it just came apart.
After that it was just a matter of replacing the valve.
If you're reading this, I assume you have some idea what these pictures depict and you can just skip to the next paragraph. If you don't, here's a brief explanation: the threads on the fittings have to be "packed", otherwise water, once under pressure, will force its way out between the threads. There are various ways to accomplish this. Professional plumbers use new-fangled white stringy stuff, which is very fast, but I'm partial to hemp fiber - not just because I'm old-fashioned and resist change, but also because that's the way I was taught to pack threads many moons ago. Basically, the procedure is as follows: you carefully prepare the right amount of fiber and then wrap it over the threads tightly, starting from the edge and working backwards. Then you rub some grease on it (I use the salves that my wife makes) and - assuming you've done it right - when you put it together the joint resists the water pressure and remains watertight for a very long time (decades, easily).
Anyway, putting everything back together was trivial compared with taking it apart.
Here's the completed work. It looks just like it did in the beginning, except now the dang thing doesn't drip!


don't know how I came up with horse hair when I read hemp??
ReplyDelete